Creating a MetaHuman
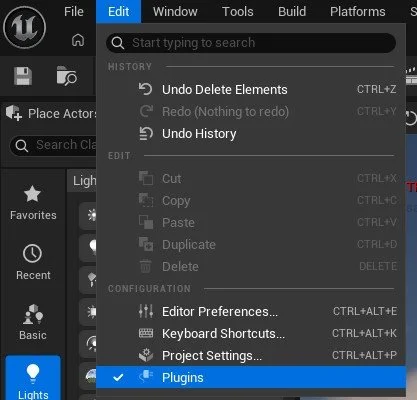
To create Metahumans, we need to enable a series of plugins and tools to enable the creator tools and Livelink control hub tools.
Click on the Edit tab and select the Plugins option to bring up the plugins window and search for ‘meta’ plugins and enable those highlighted in the image below.
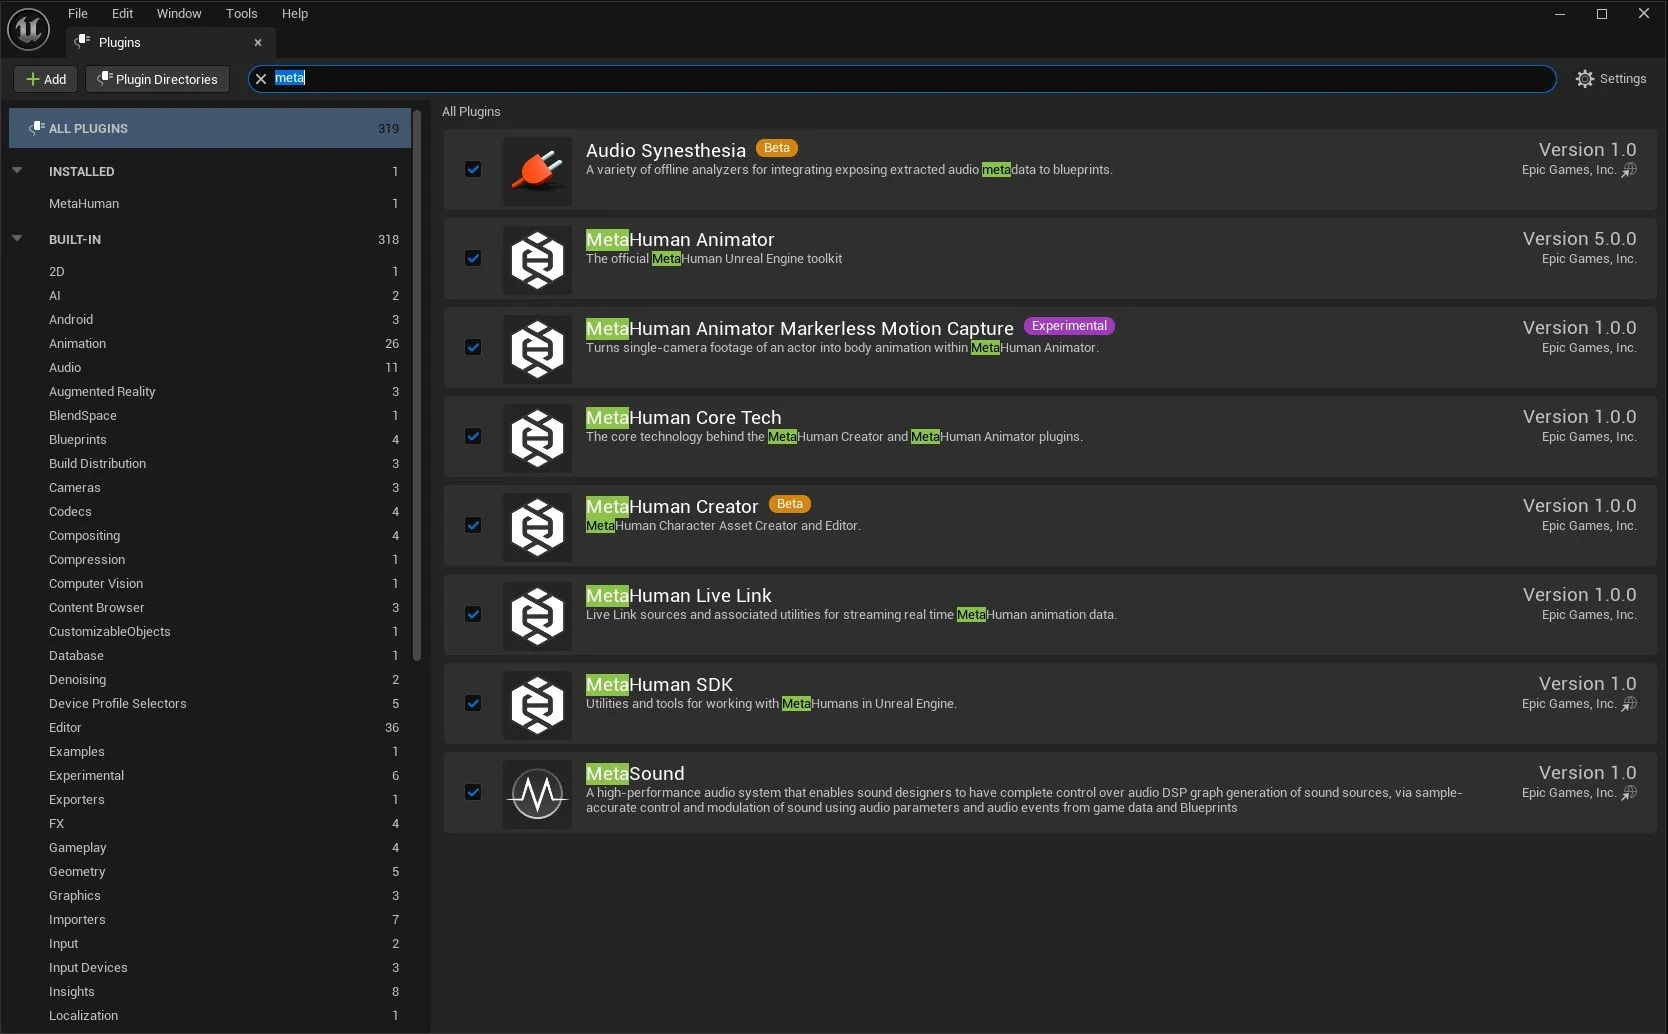
Enabling these plugins will bring up a "Restart Unreal Engine" window to confirm the changes, save, then restart/close and reopen the project.
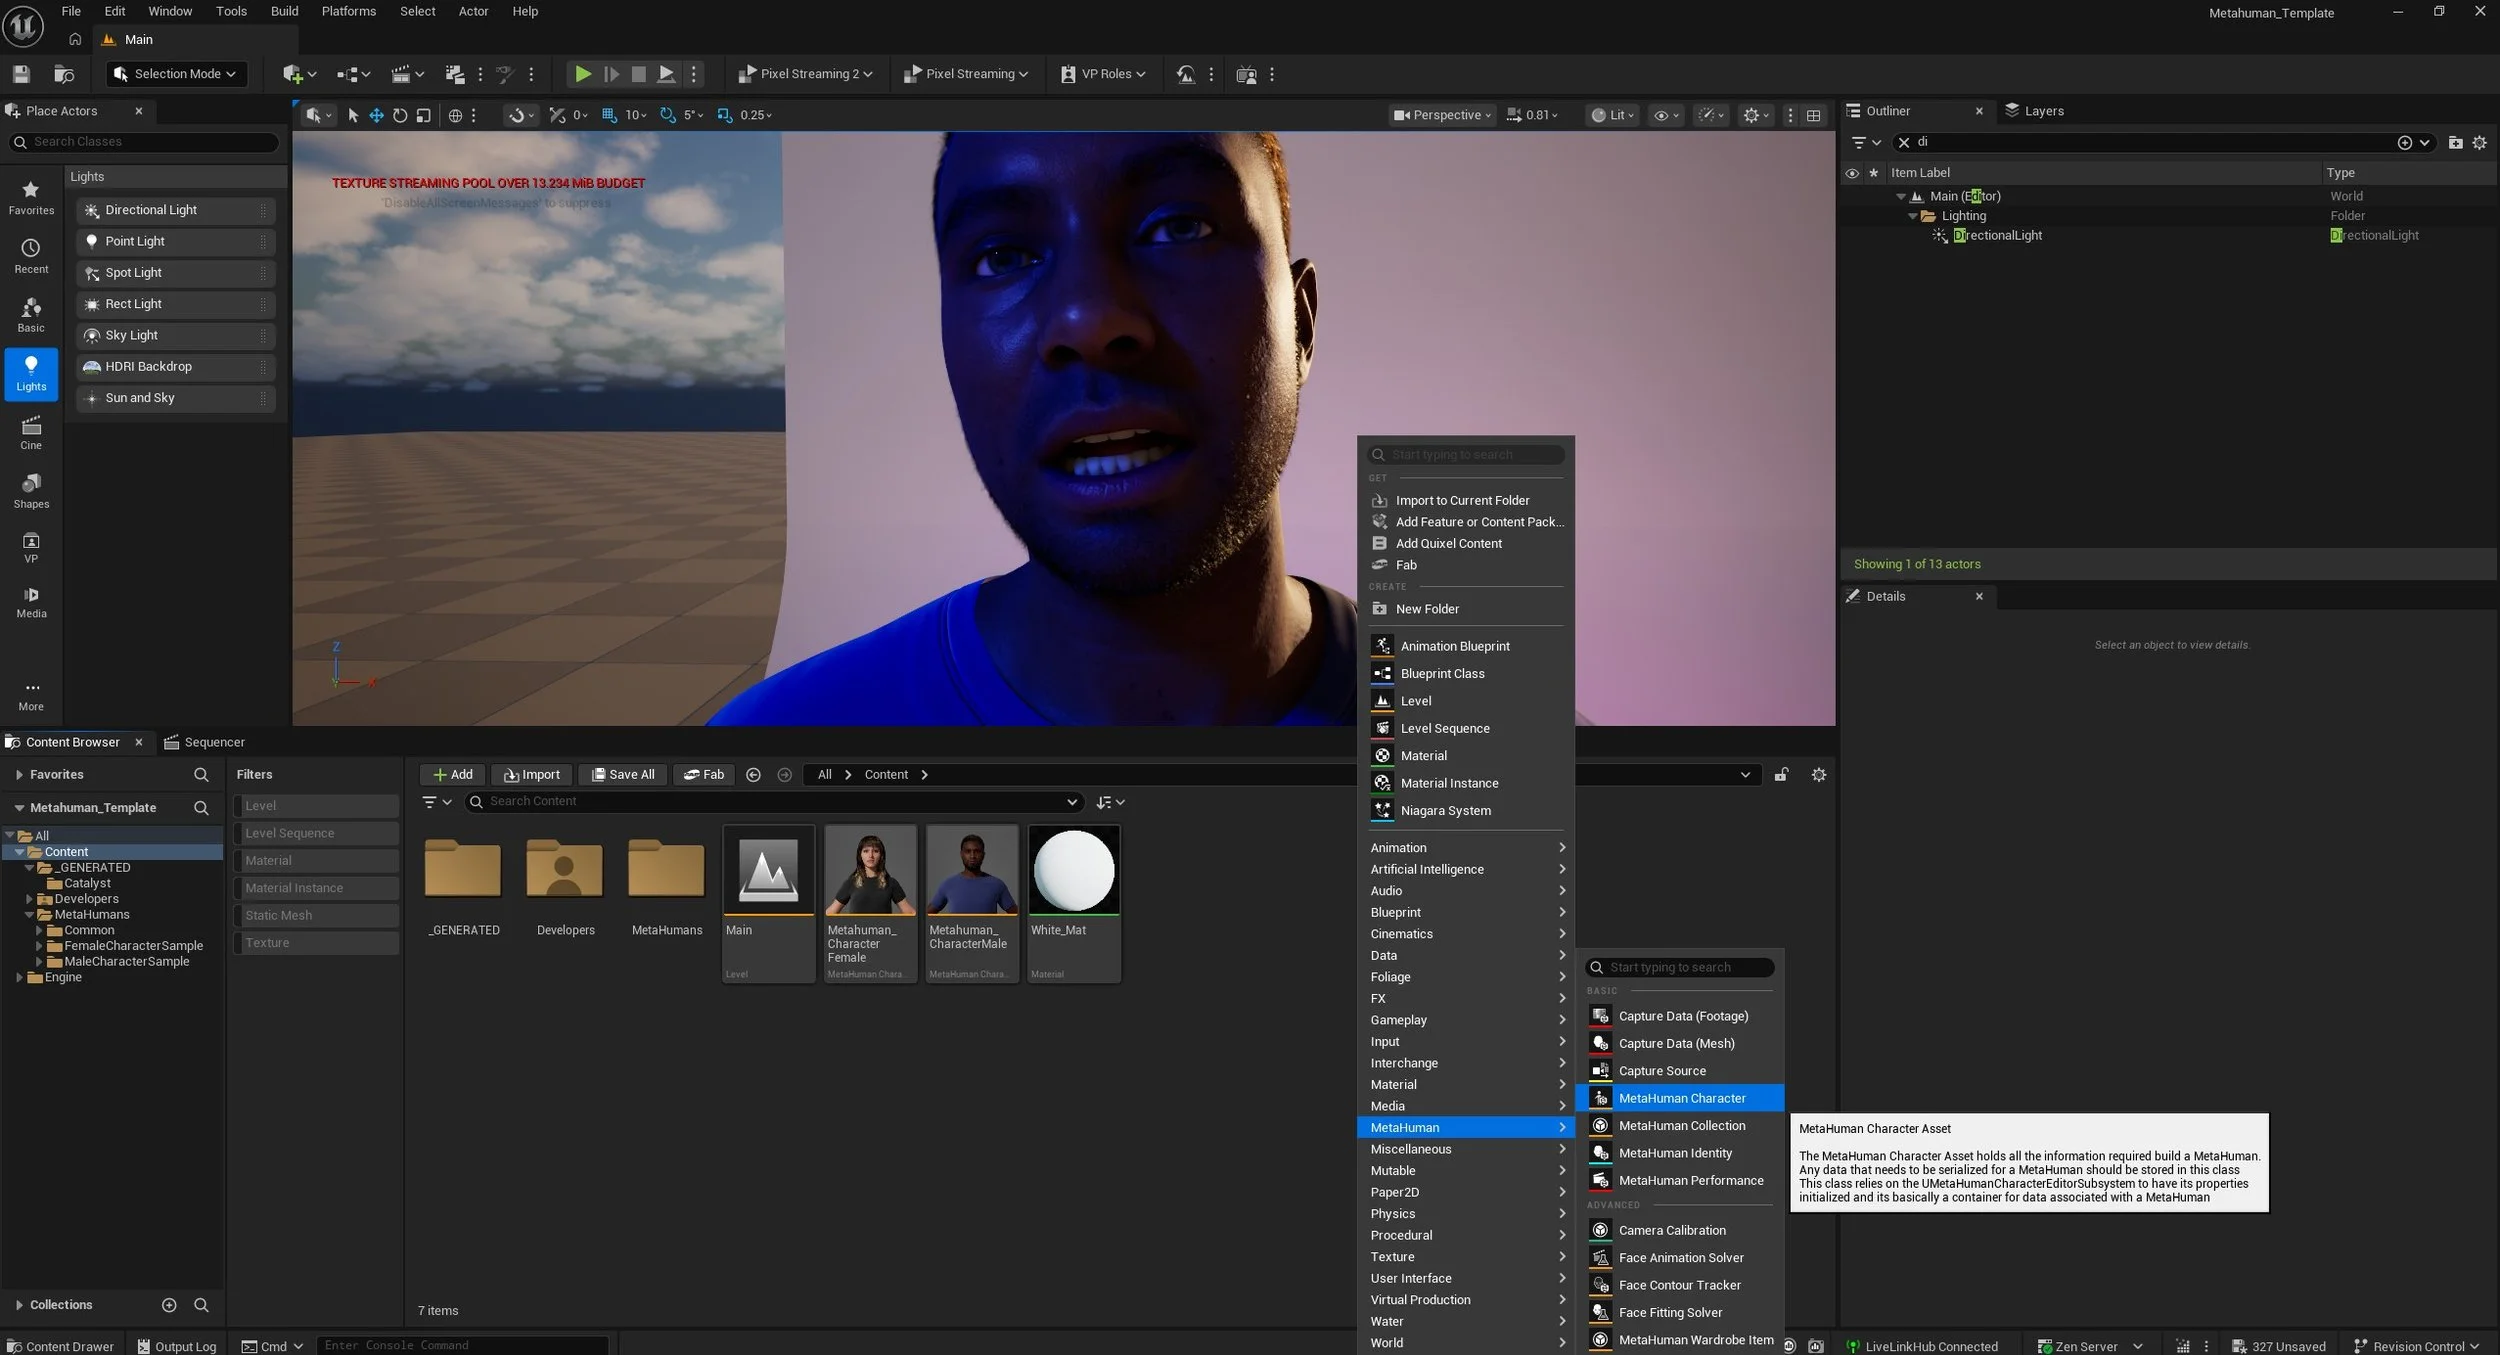
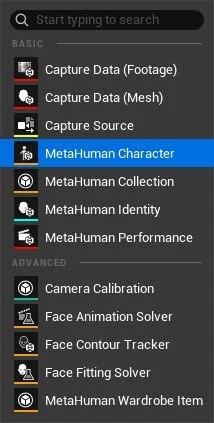
In the Content Drawer, right-click and select MetaHuman > MetaHuman Character. This will create a new metahuman creator asset.
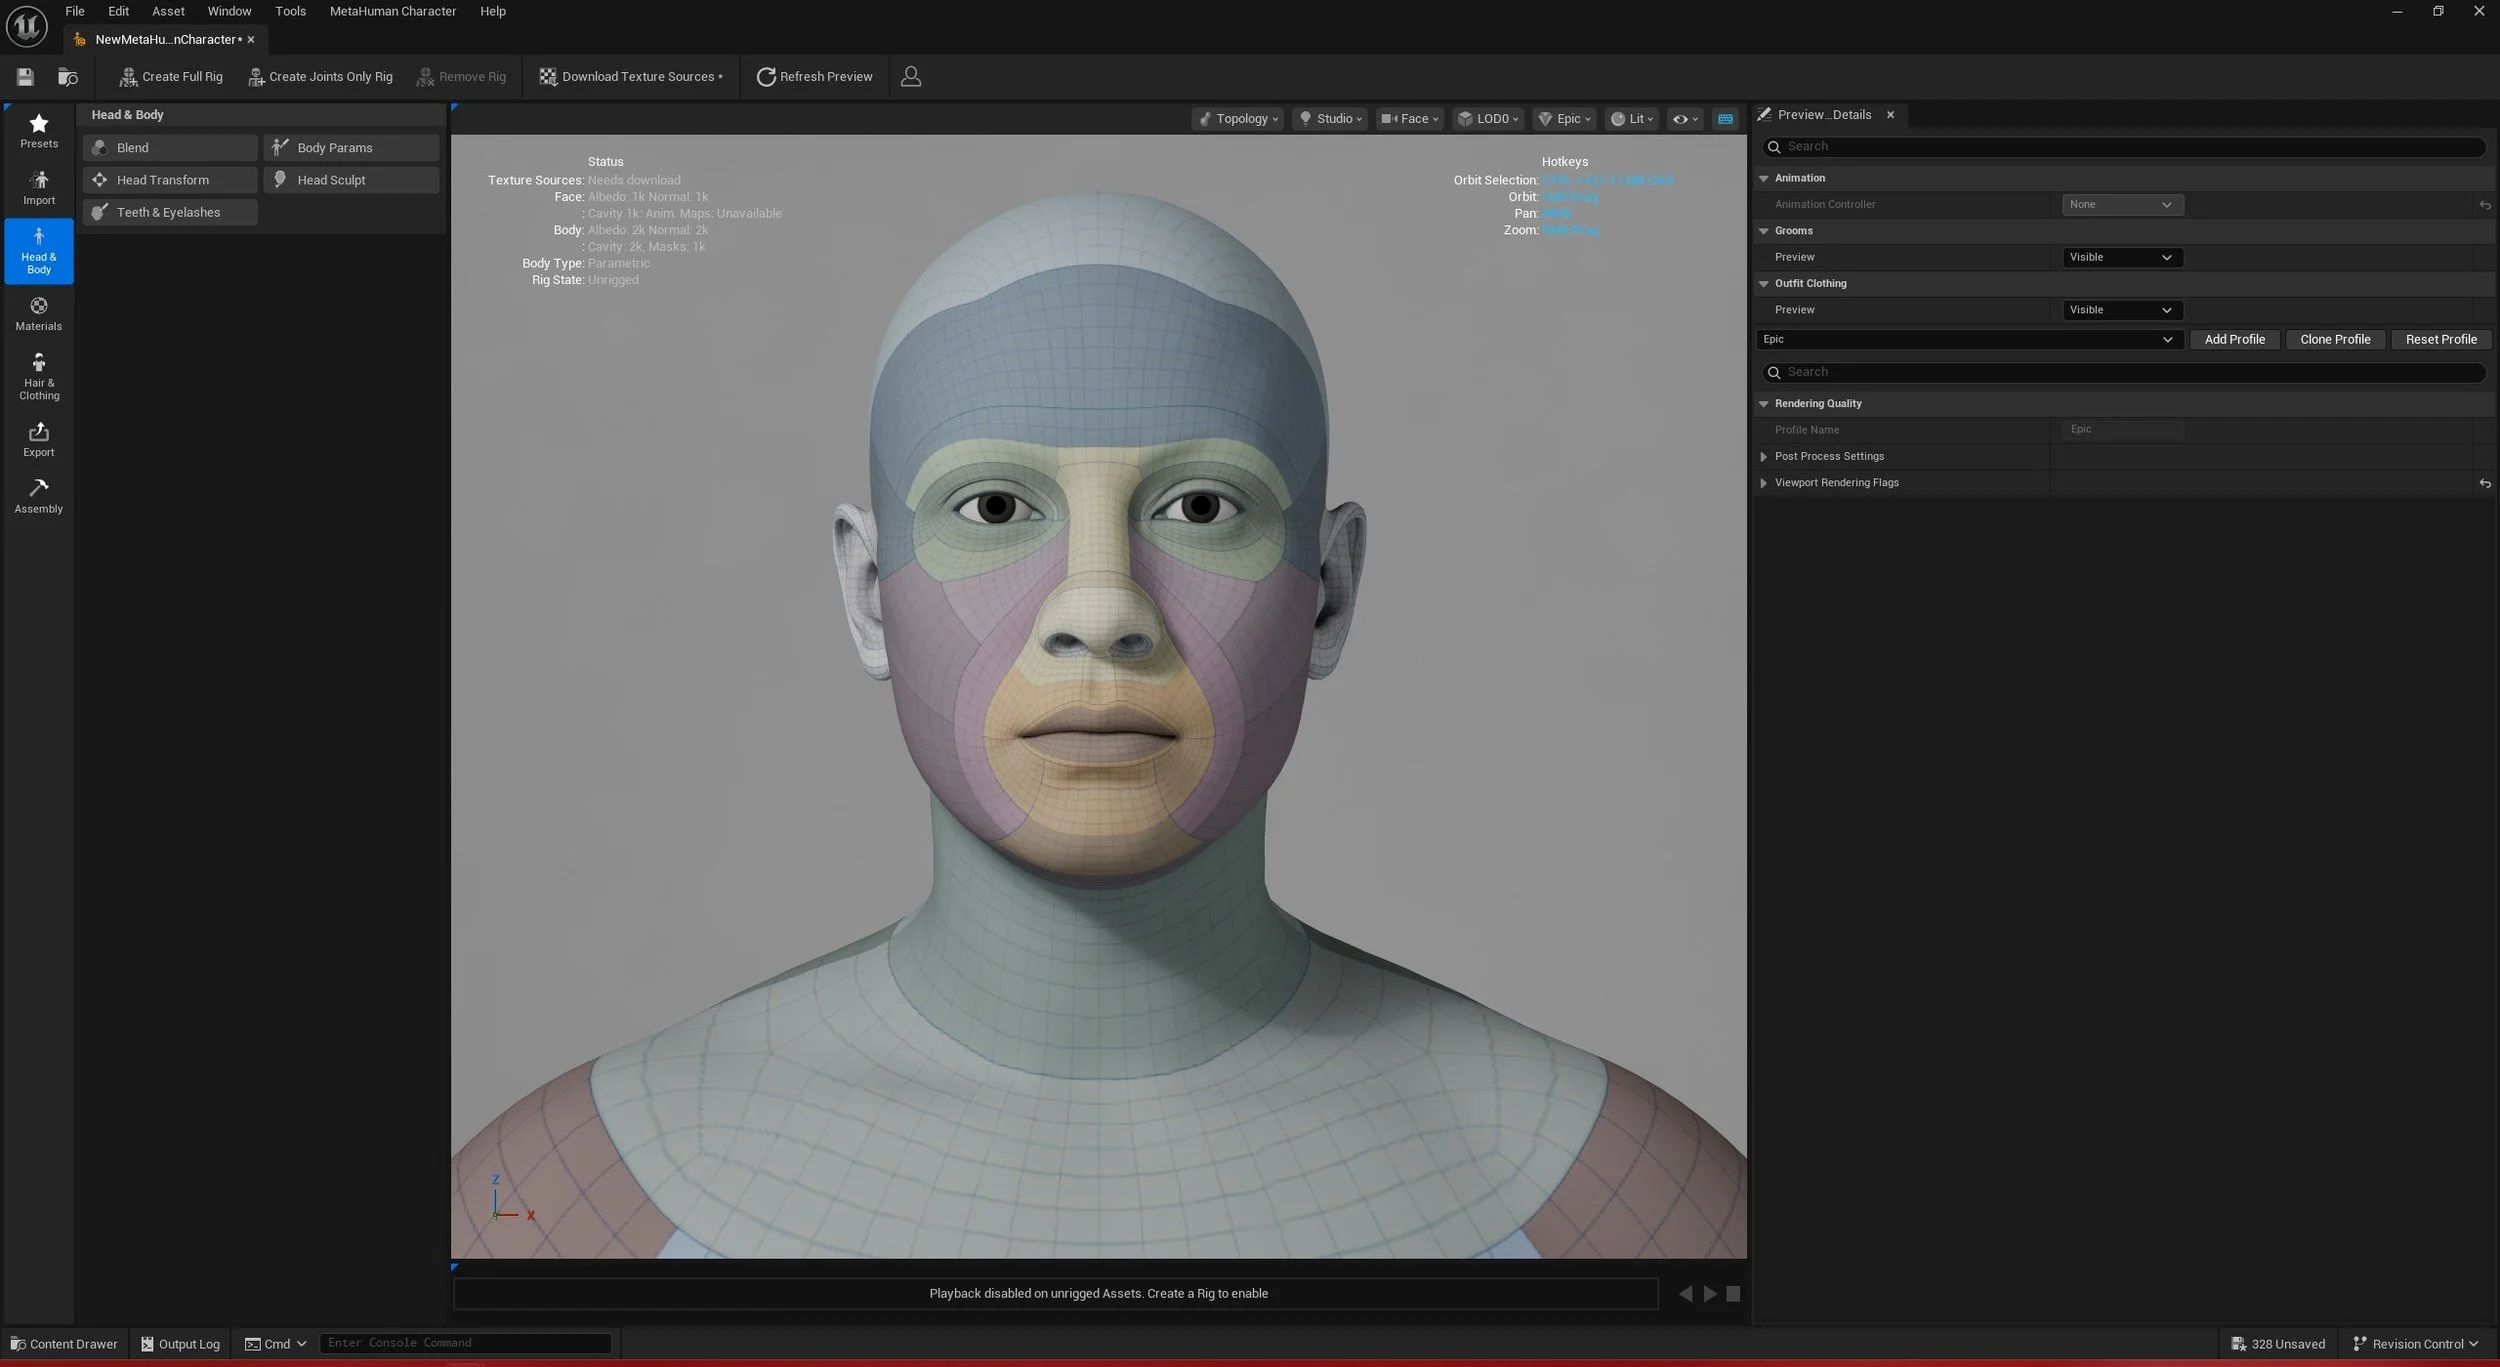
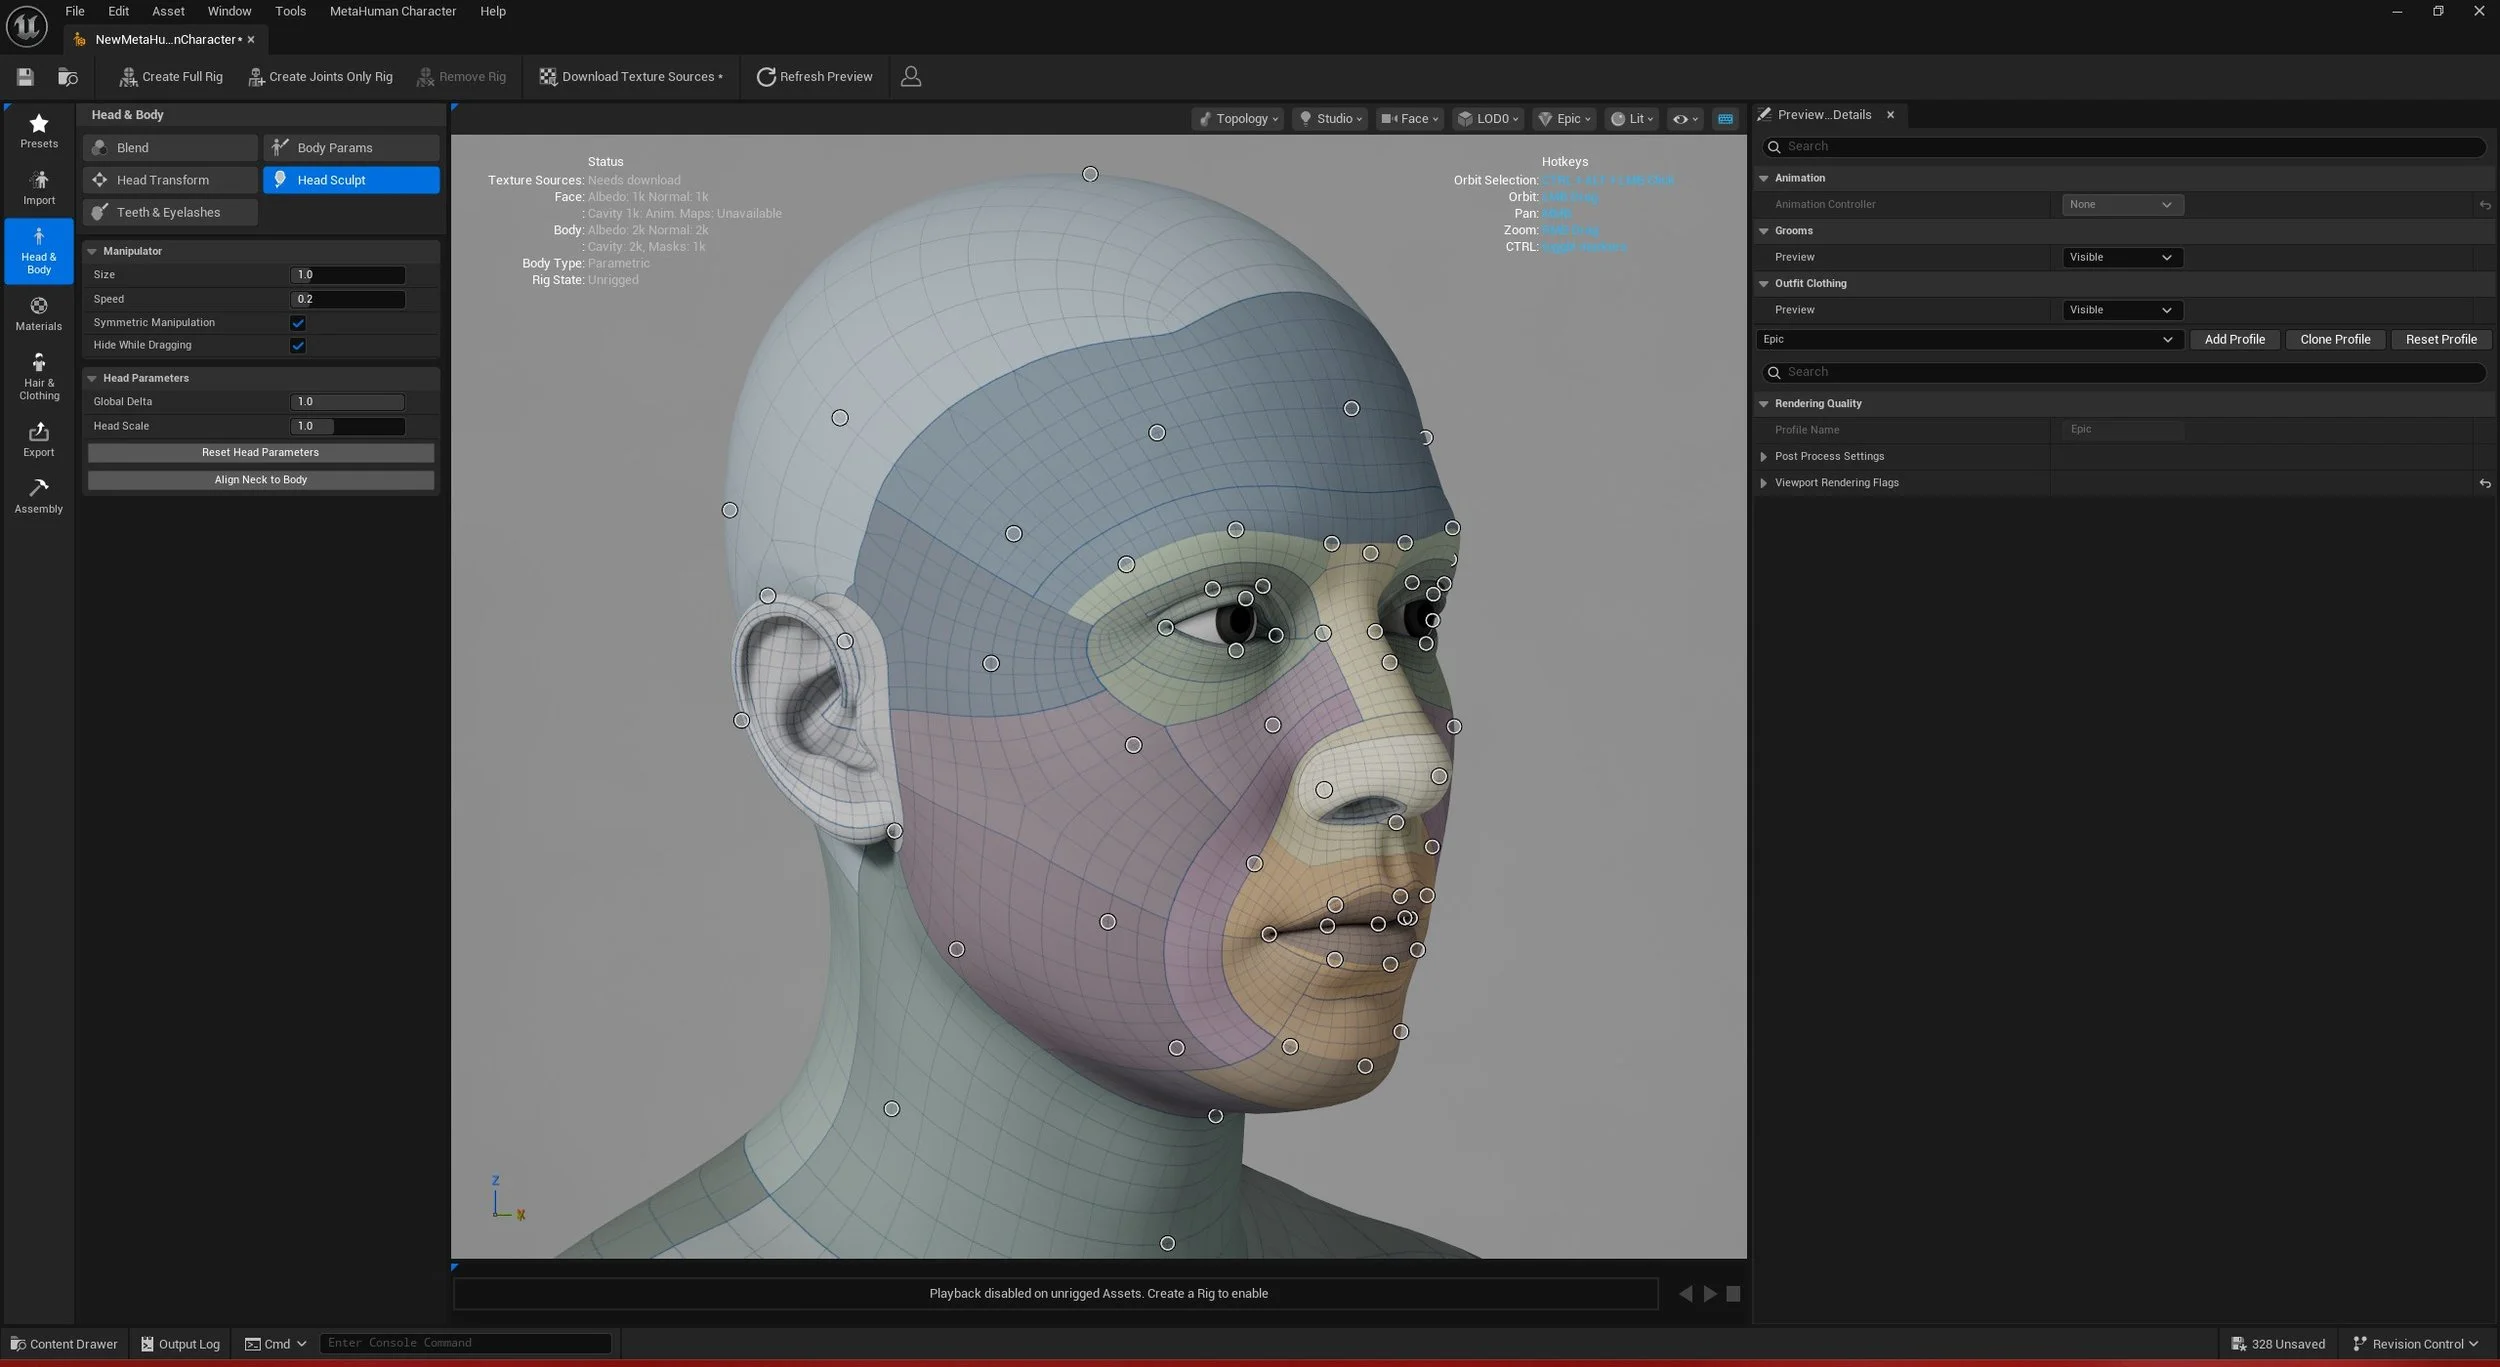
The sculpt panel allows you to left-click and drag on the handles on the face mesh to stretch and distort the facial features.
You can also adjust the teeth in a similar vein.
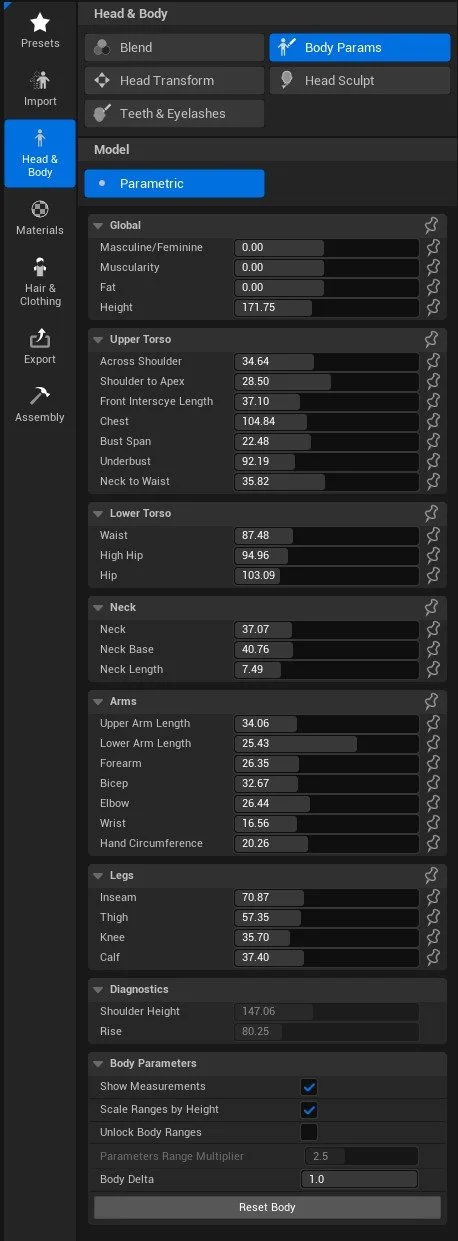
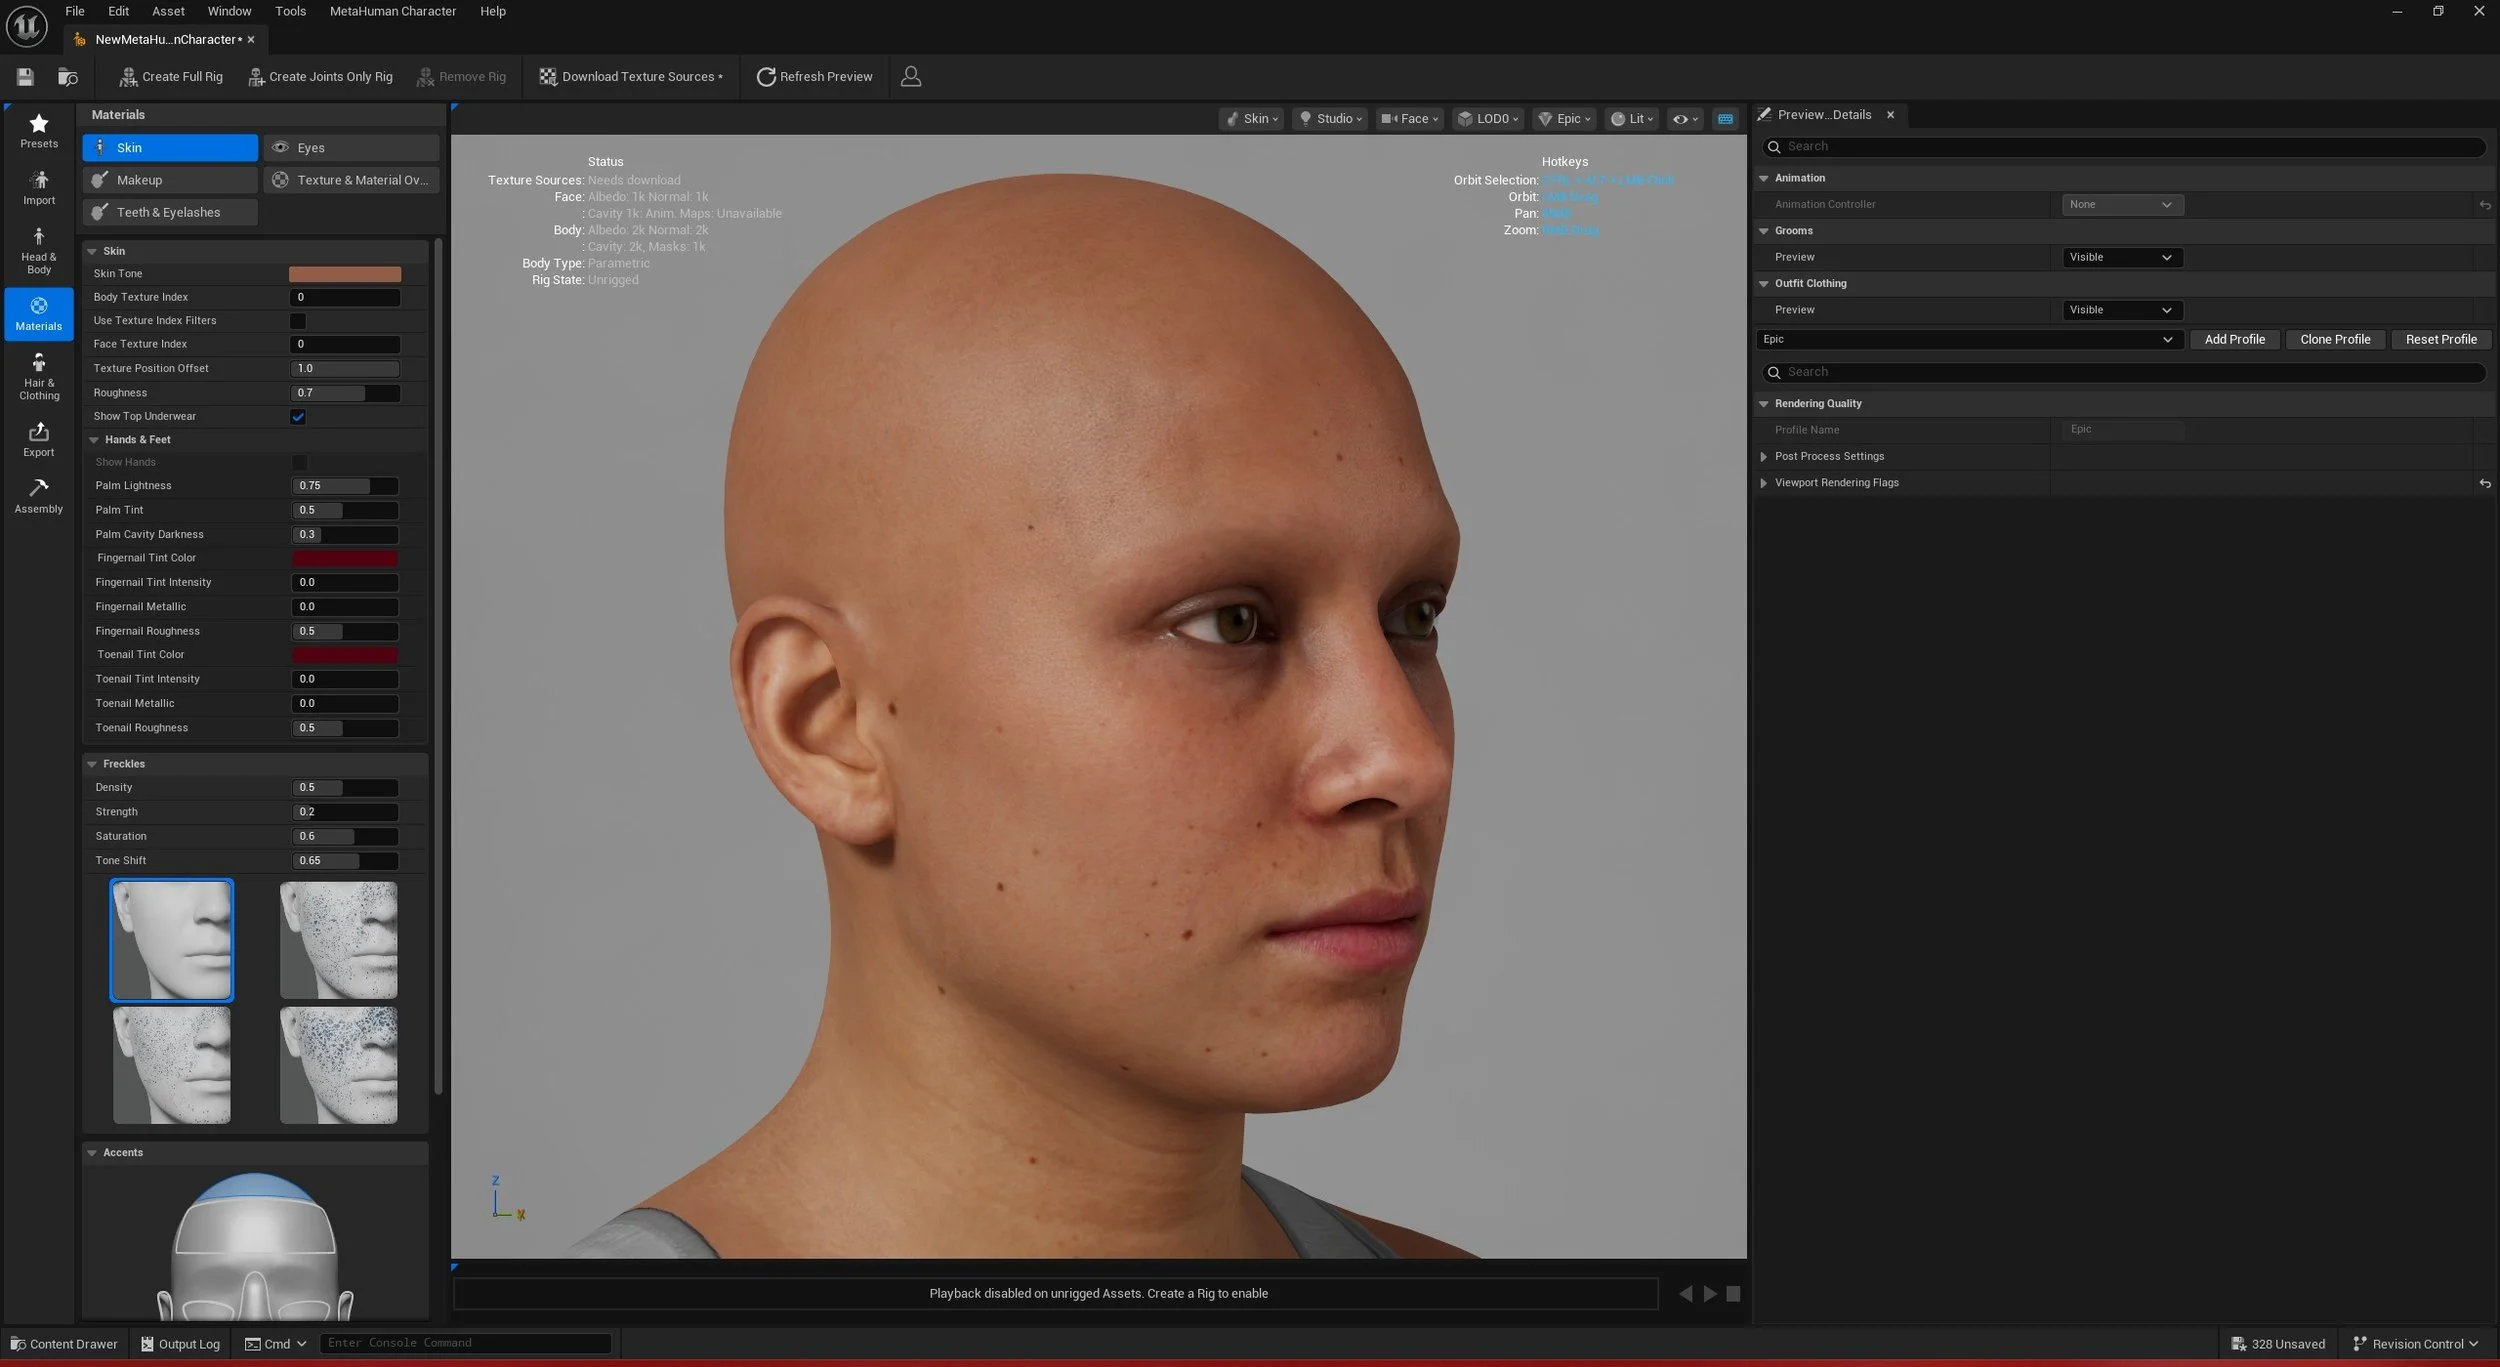
Double-click the created metahuman asset; this will open the character creator window.
Think of this like a character creator such as those found in games such as The Sims or Skyrim, where we can sculpt, add hair and skin elements and prepare for rigging.
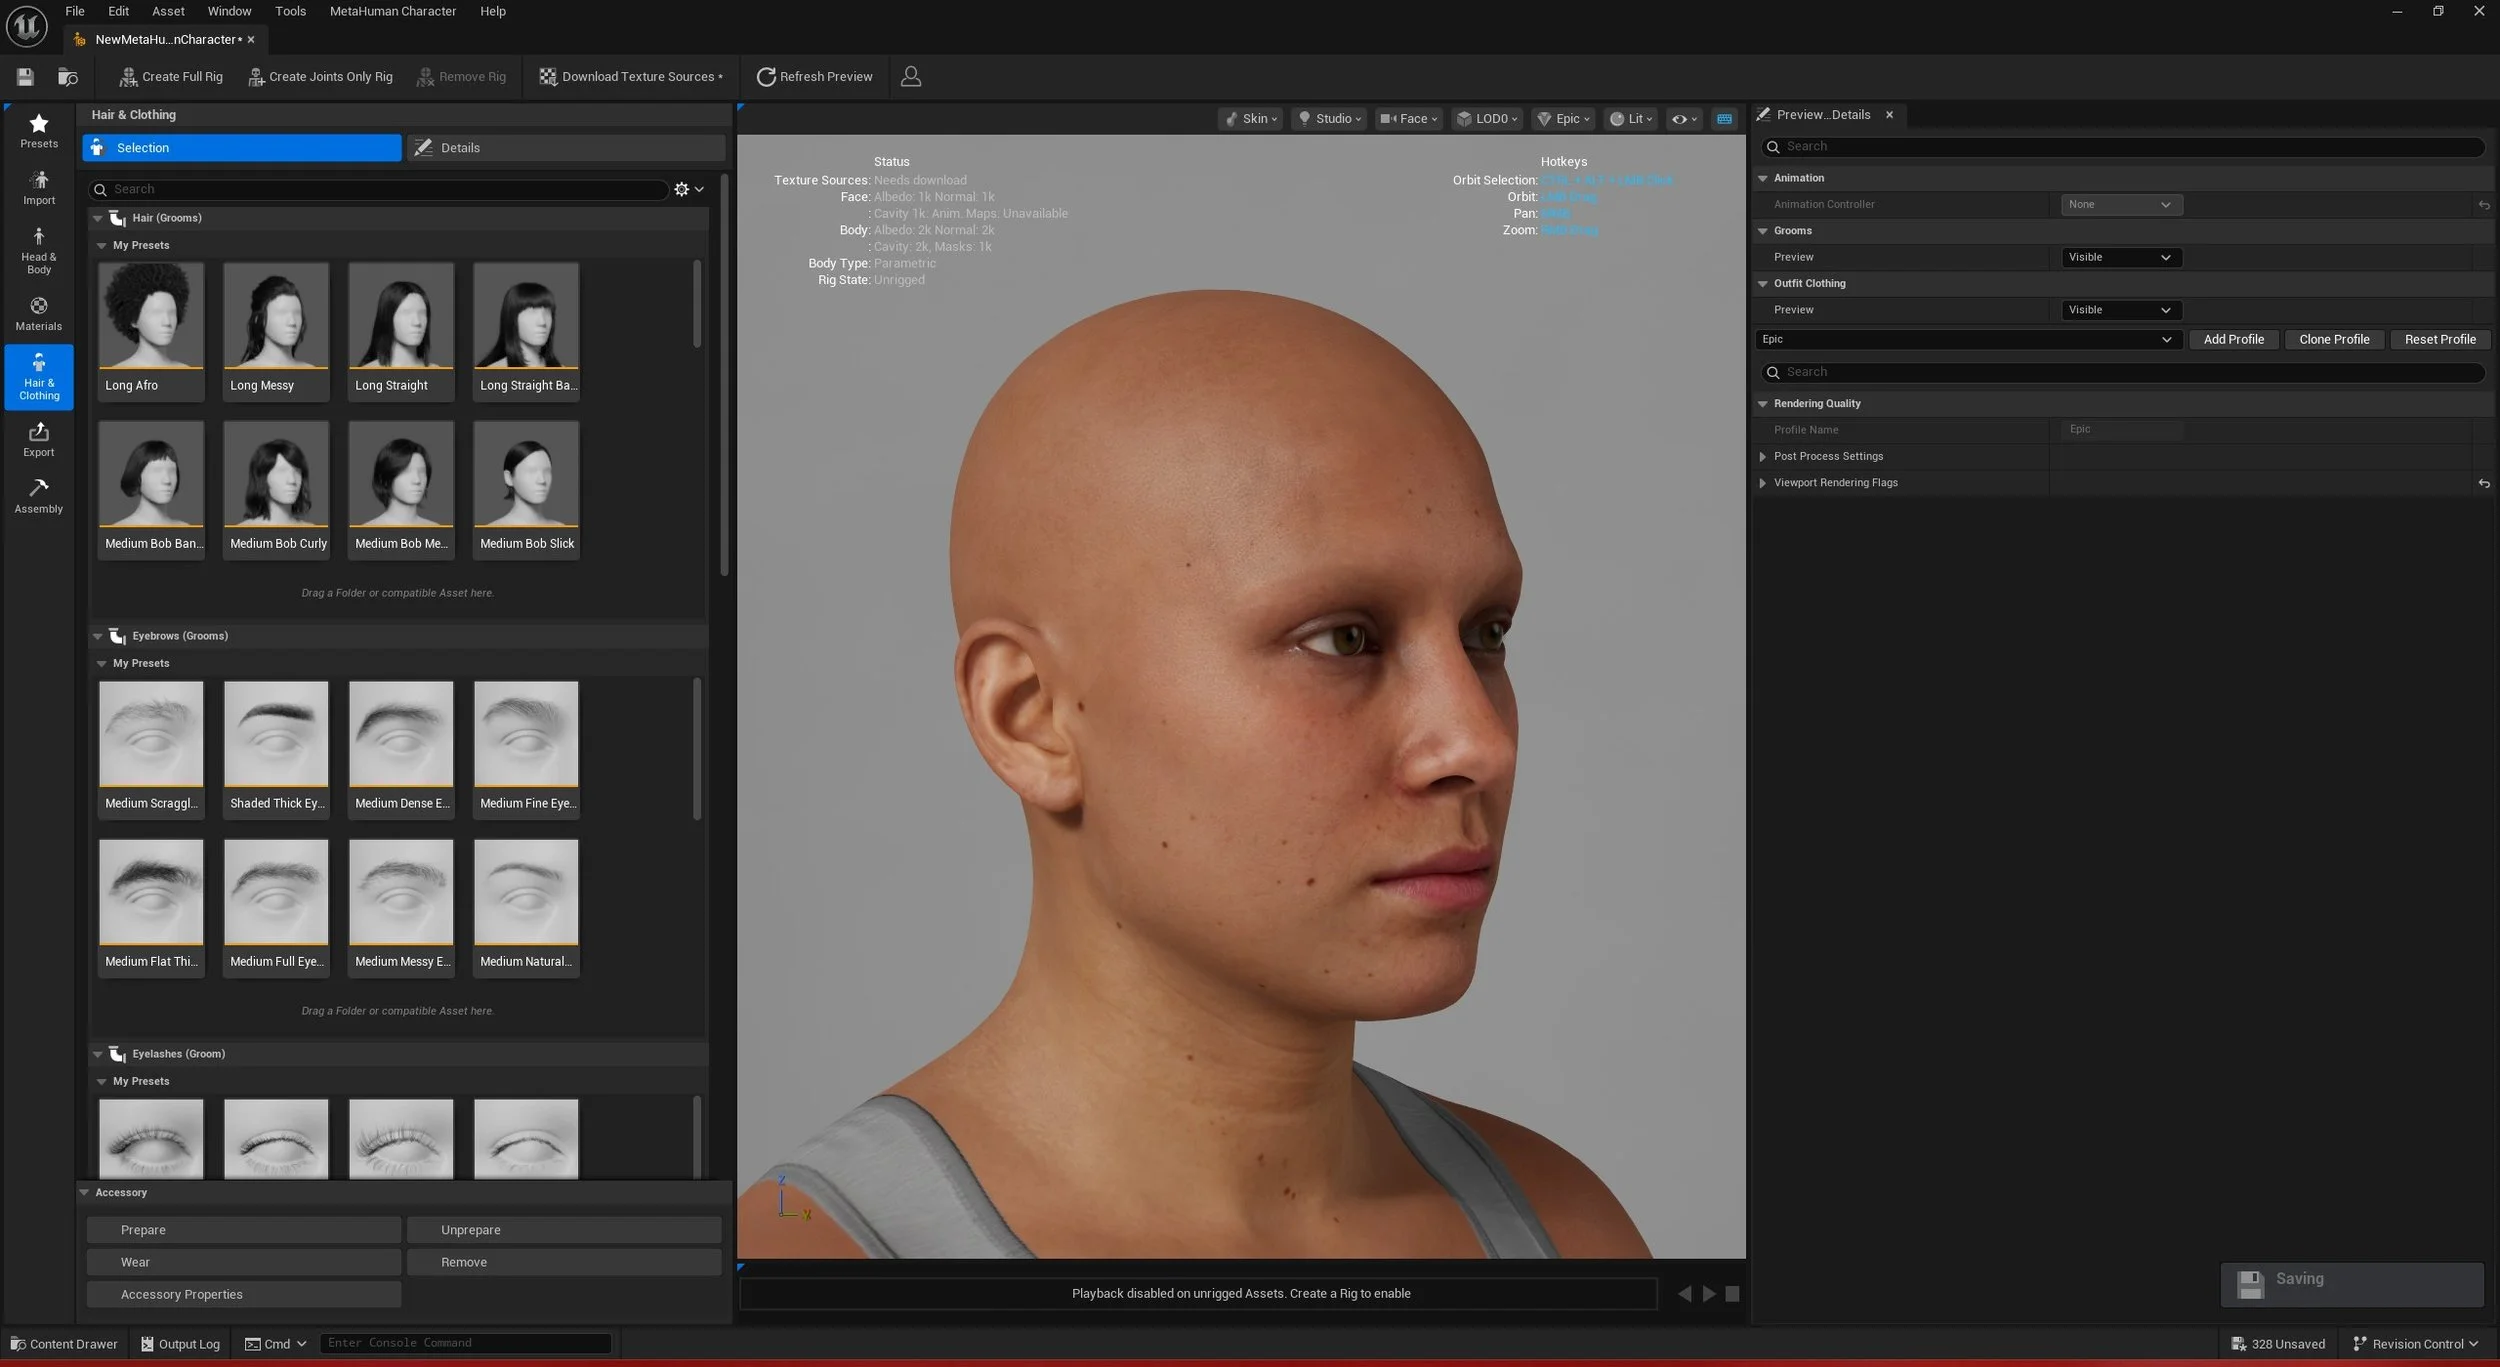
On the materials tab, we can change the skin, eyes and additional feature colours.
Double-click on assets in the groom and clothing tab to apply to the character (if we want to add additional items, we need to use a third-party application not covered in this guide)

Once we have designed our character, we need to confirm these changes and create a full rig ready for live link animation alongside download texture sources before we can assemble the rigged character. Click on Create Full Rig and Download Texture sources; these will open a web browser where you may need to sign into Epic Games or confirm you are logged in. It is normal for a warning to appear.
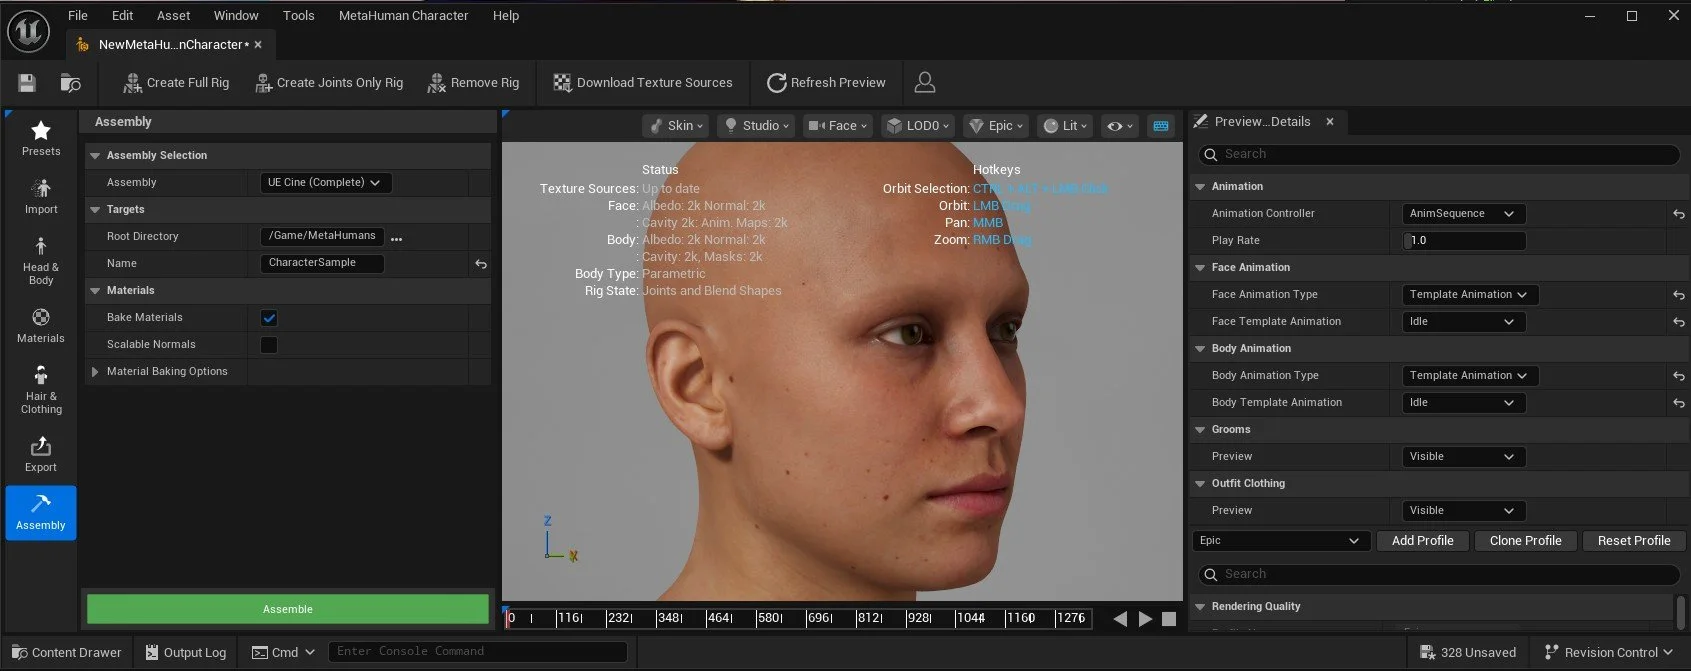
Once this is complete, navigate to the Assembly tab, rename the target (character’s name), then click Assemble. This will create a Metahuman blueprint and mesh we can now use for animation and within our projects. You can close this window when complete.
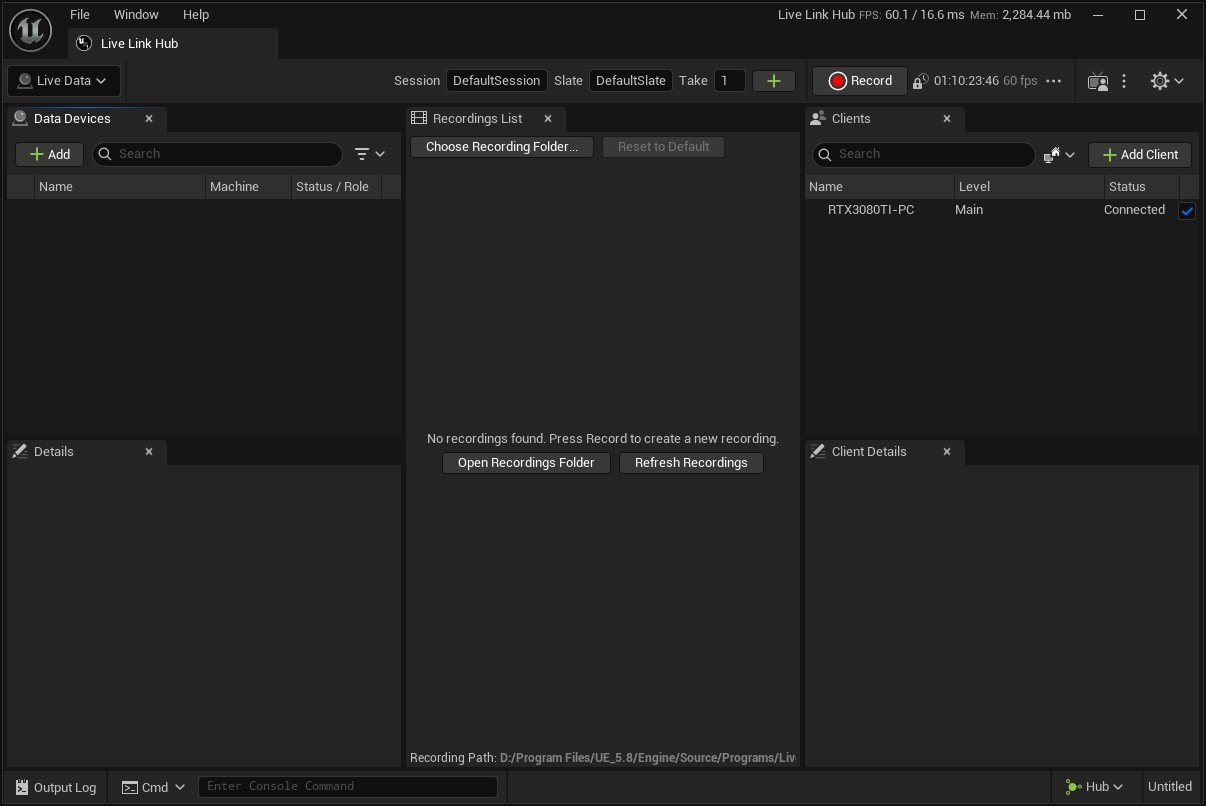
Under Data Devices, select +Add and select the Metahuman (Video). This will be where we will use our webcam as a controller.
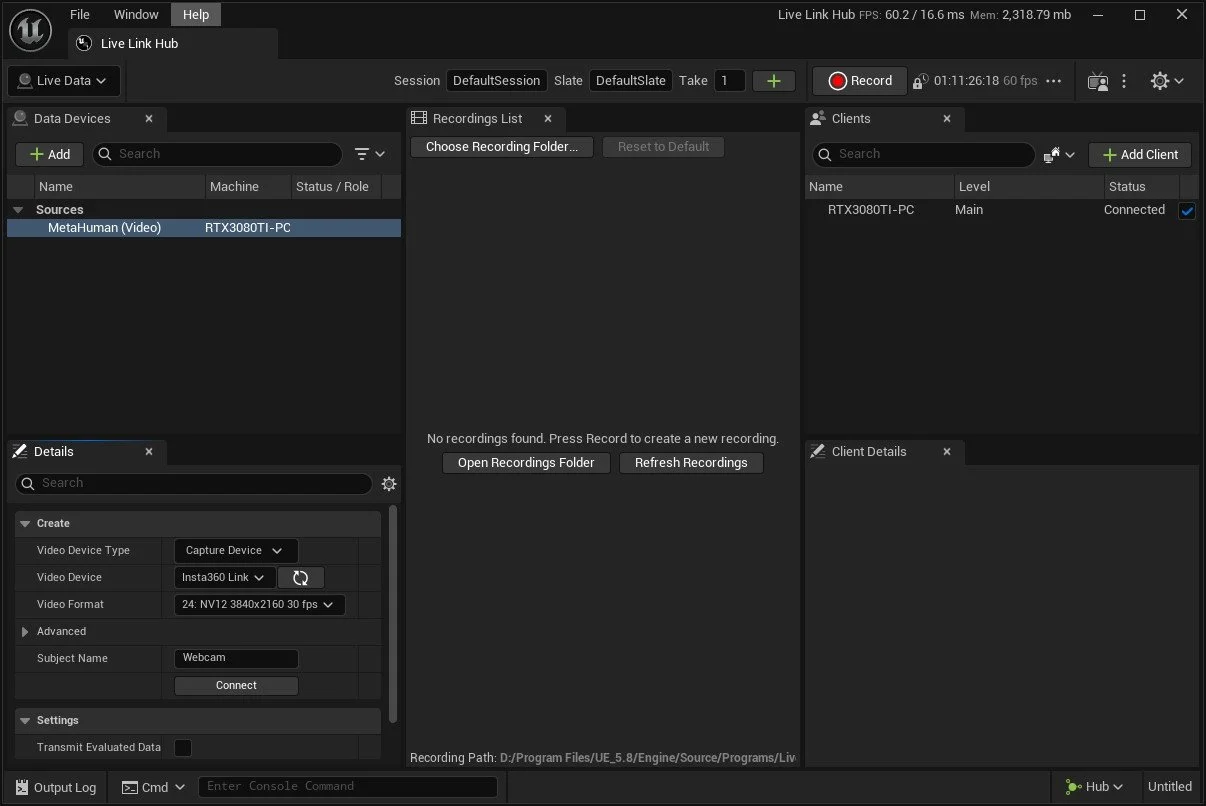
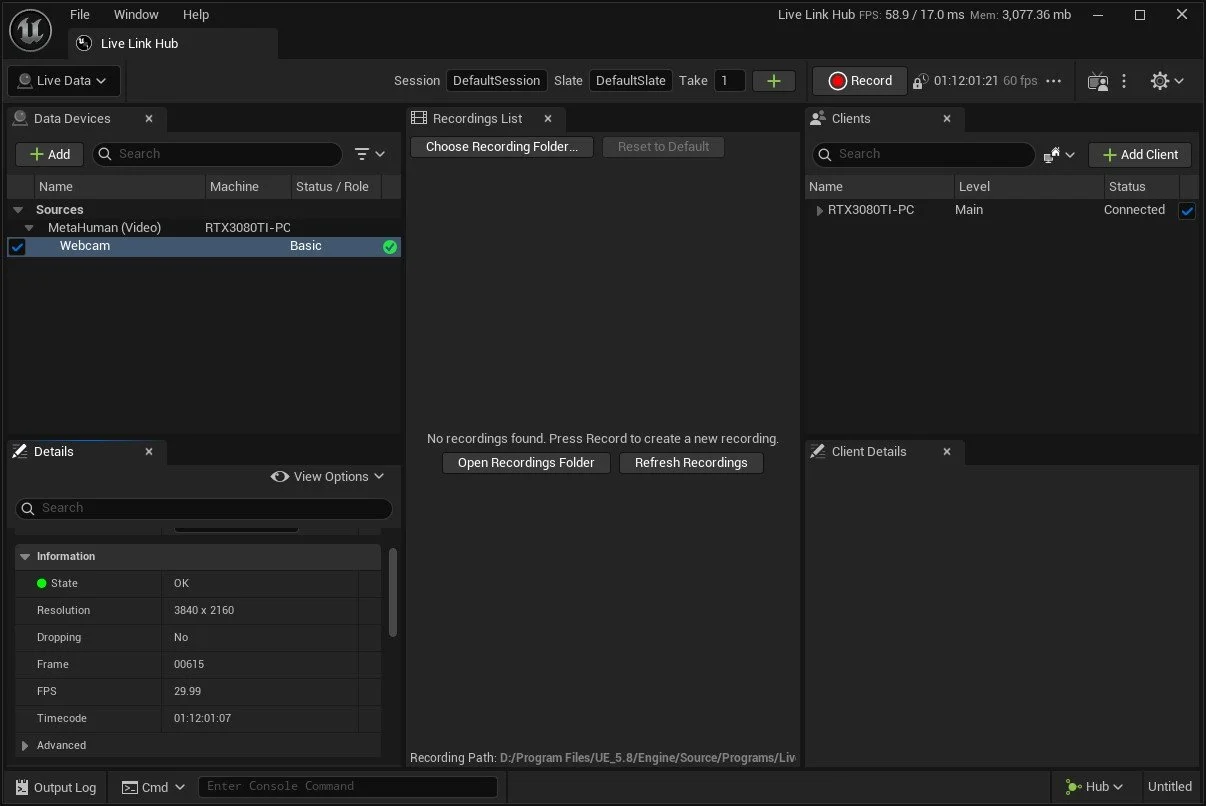
If this is successful, you should see a green tick (this may appear as a warning if the webcam does not detect a face)
Do not close the Livelink hub as the connection will only work with this window open; you can minimise this for now.
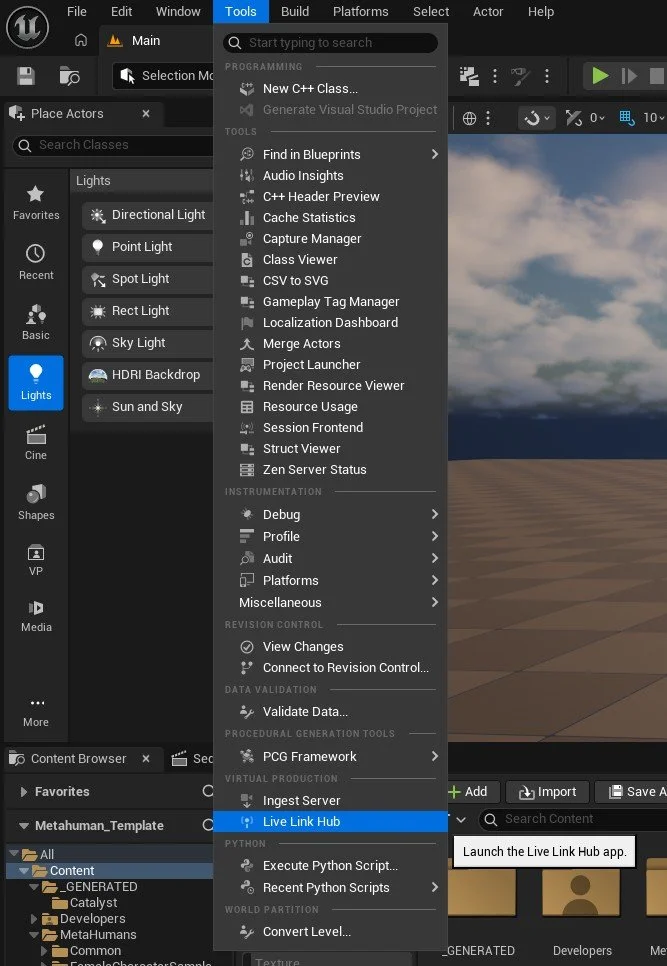
Navigate to the Tools tab and select Live Link Hub, and this will open the Live Link Hub window.
We will be creating a data device source, and for this guide, using a simple webcam as our facial control system.
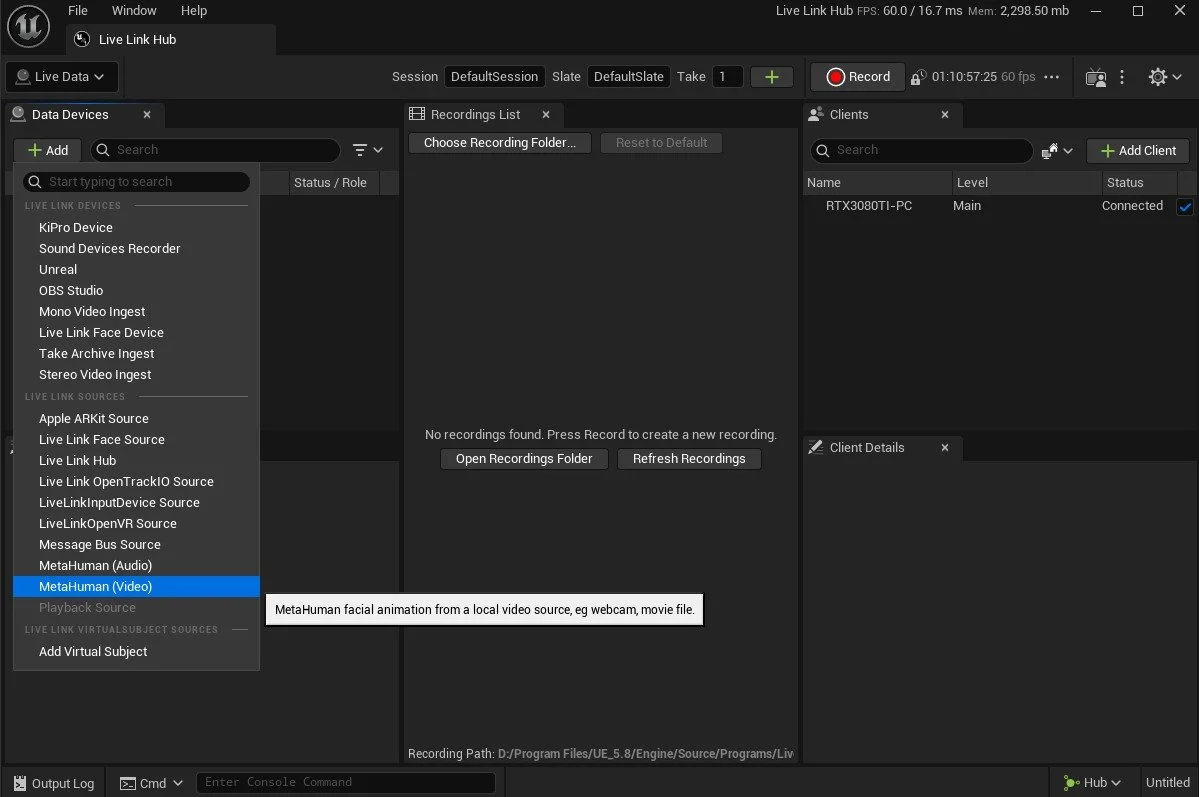
Select this new source and, under the details panel, choose our video device (webcam) and give it a Subject Name - this will be the name we reference our metahuman to as a connection.
Then click Connect…
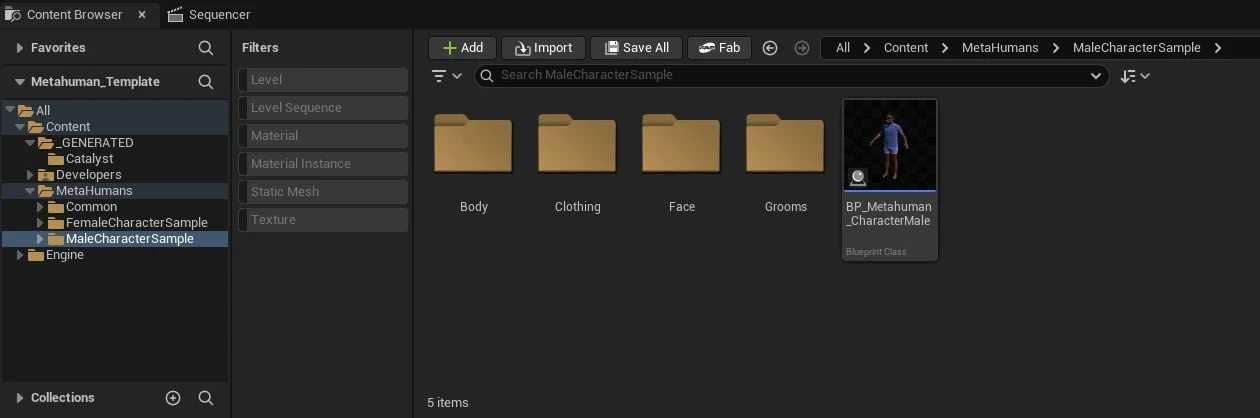
In the Content Browser, a new folder will be created (MetaHumans) with our characters situated within. Navigate to your character and look for the blueprint Class for this character. You can now drag this blueprint into your level and should see a static character (that is already rigged) appear.
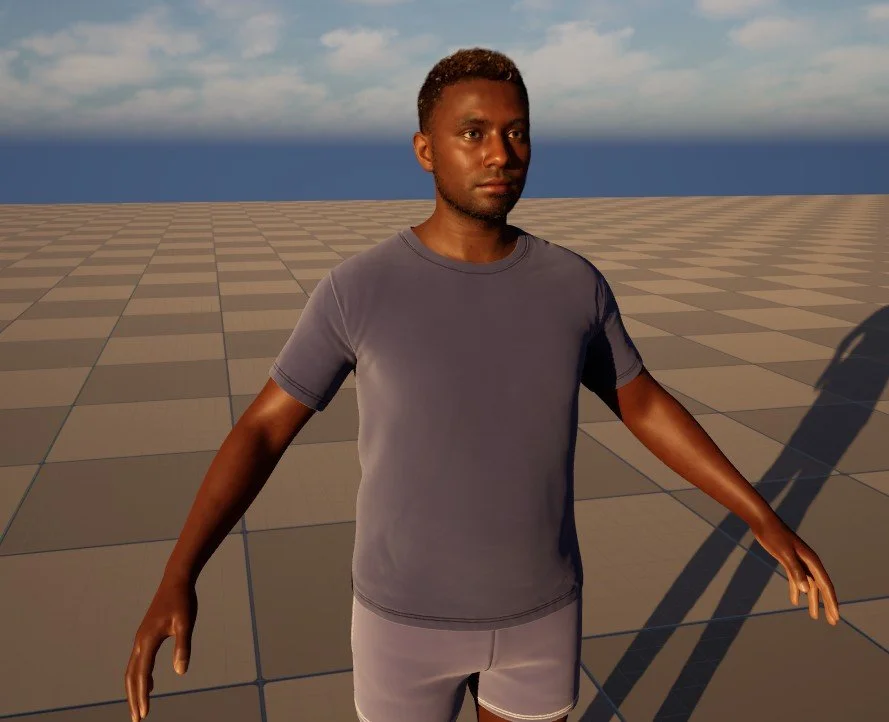
ITS ALIVE!!!!!…. ALMOST…..
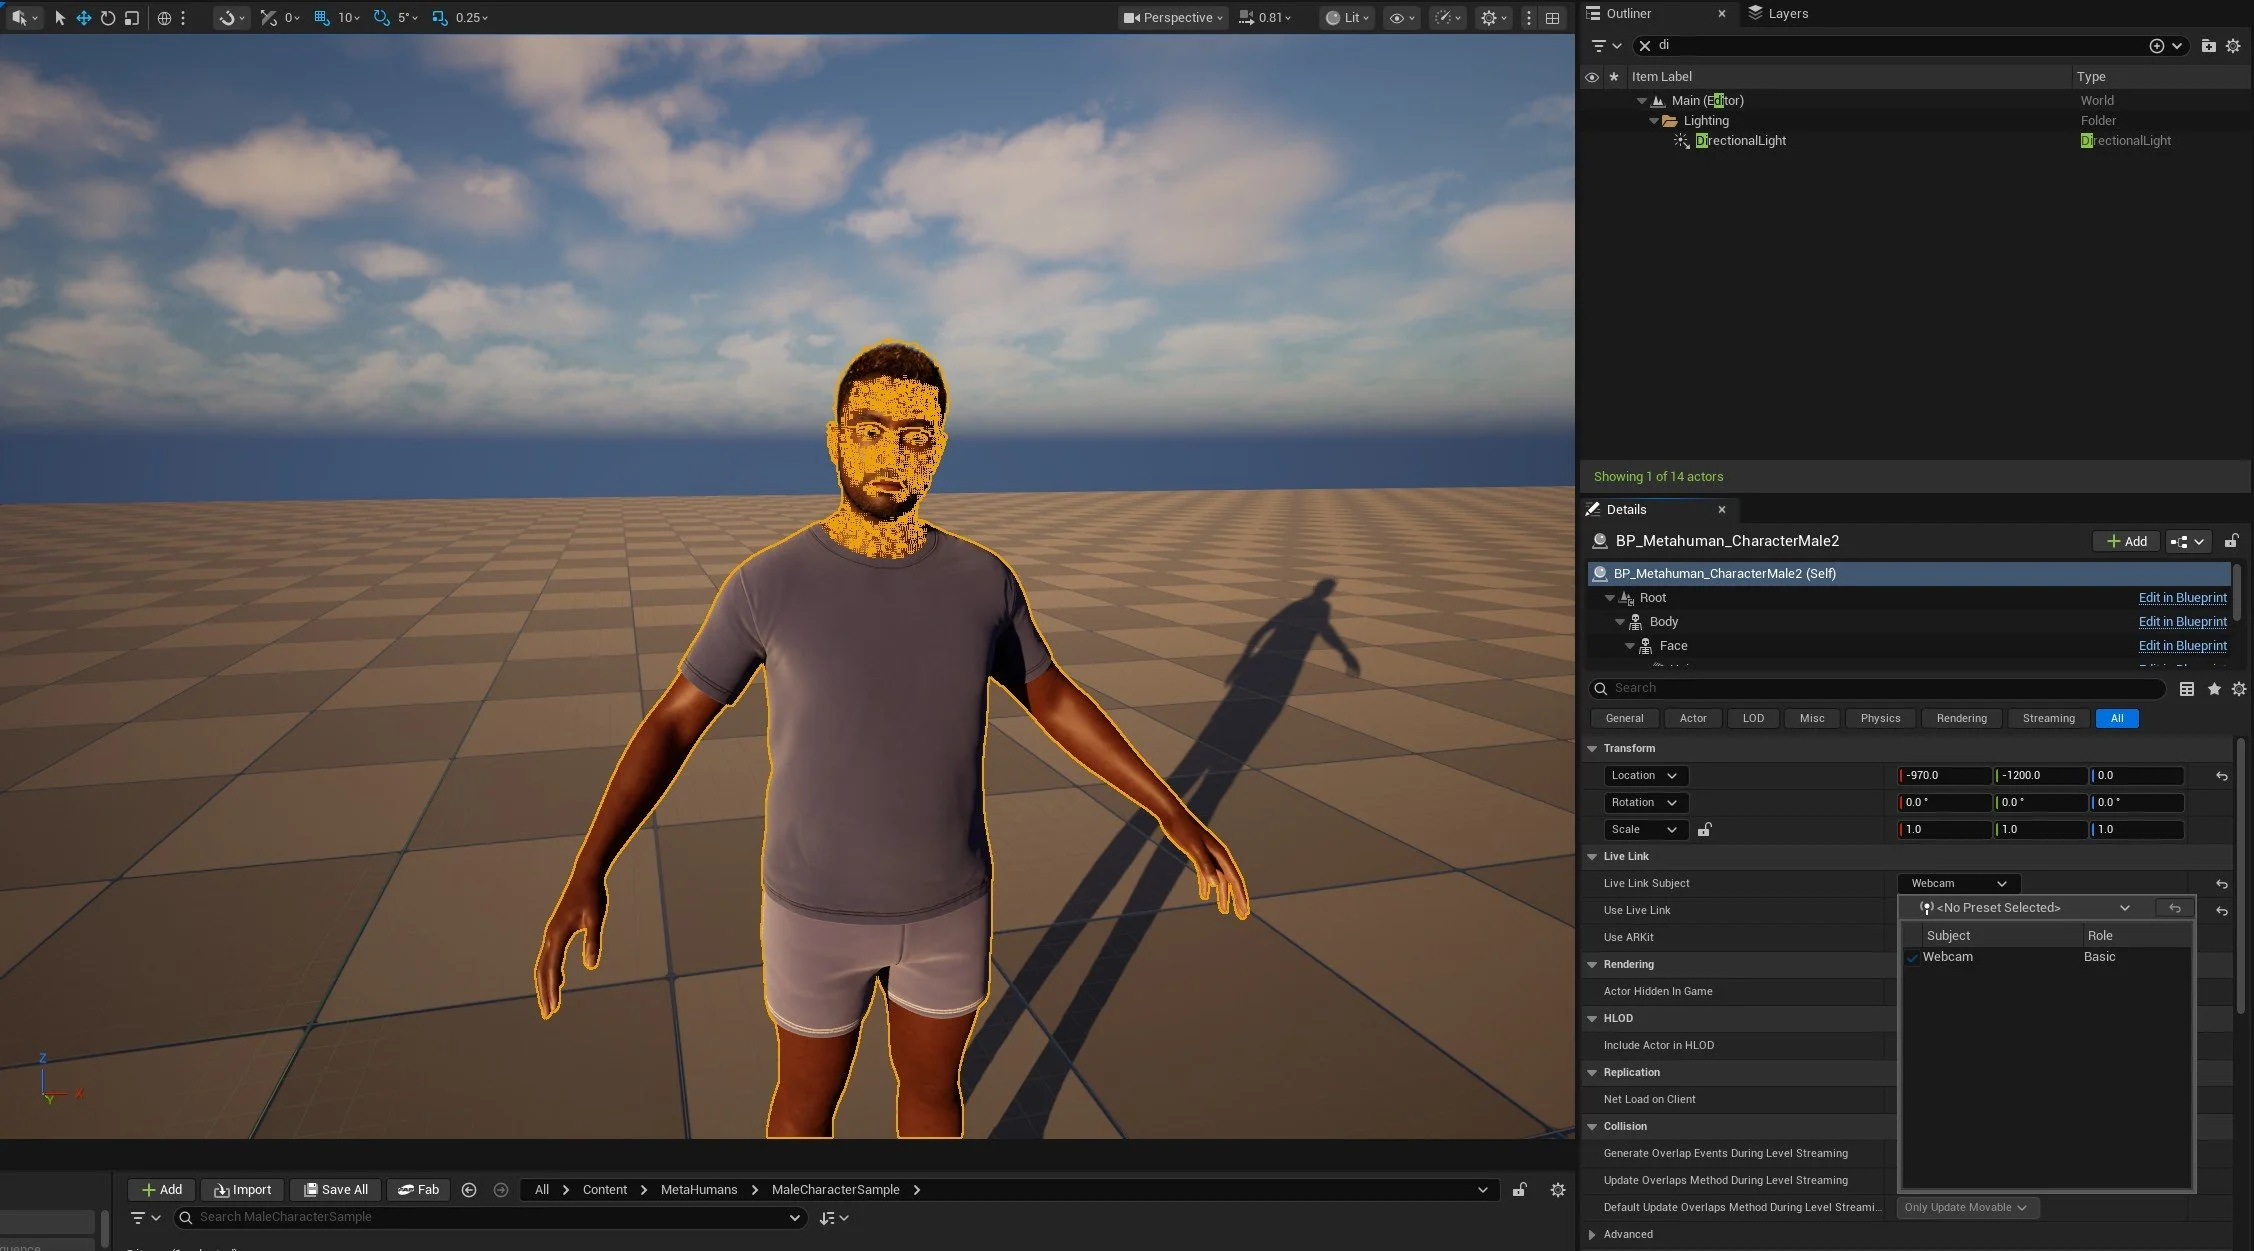

Select your metahuman in the level, and under the details panel, look for LiveLink.
Select LiveLink Subject and choose the subject name we created earlier. You will also need to enable the Livelink button below it.
IF this is all connected correctly and whilst the live link hub window remains open in the background you SHOULD be able to live control your characters’ facial animations using a simple webcam.
An alternative way is to use an iOS app called Live Link Face, but we will cover this in a dedicated Metahuman workshop as an optional session in future if you wish.